I know you can find variations of these missionary stockings on the internet.


Some creative person came up with the original idea and, unfortunately, I don't know who it was so I can't give credit...sorry!
My missionary son, however, is a vest-wearing kind of guy. So, I did my own version of a missionary stocking. You can check out the step-by-step tutorial after the jump.


Note: You will need 5/8 yd. if you are using striped pants fabric. If you use solid pants fabric, you can get by with 3/8 yd.
Using newspaper, or tissue paper, make a pattern of the size of stocking you want to make. Be sure your pattern is large enough to accommodate the vest you are going to use.


Turn your stocking right side out and press seams if necessary.


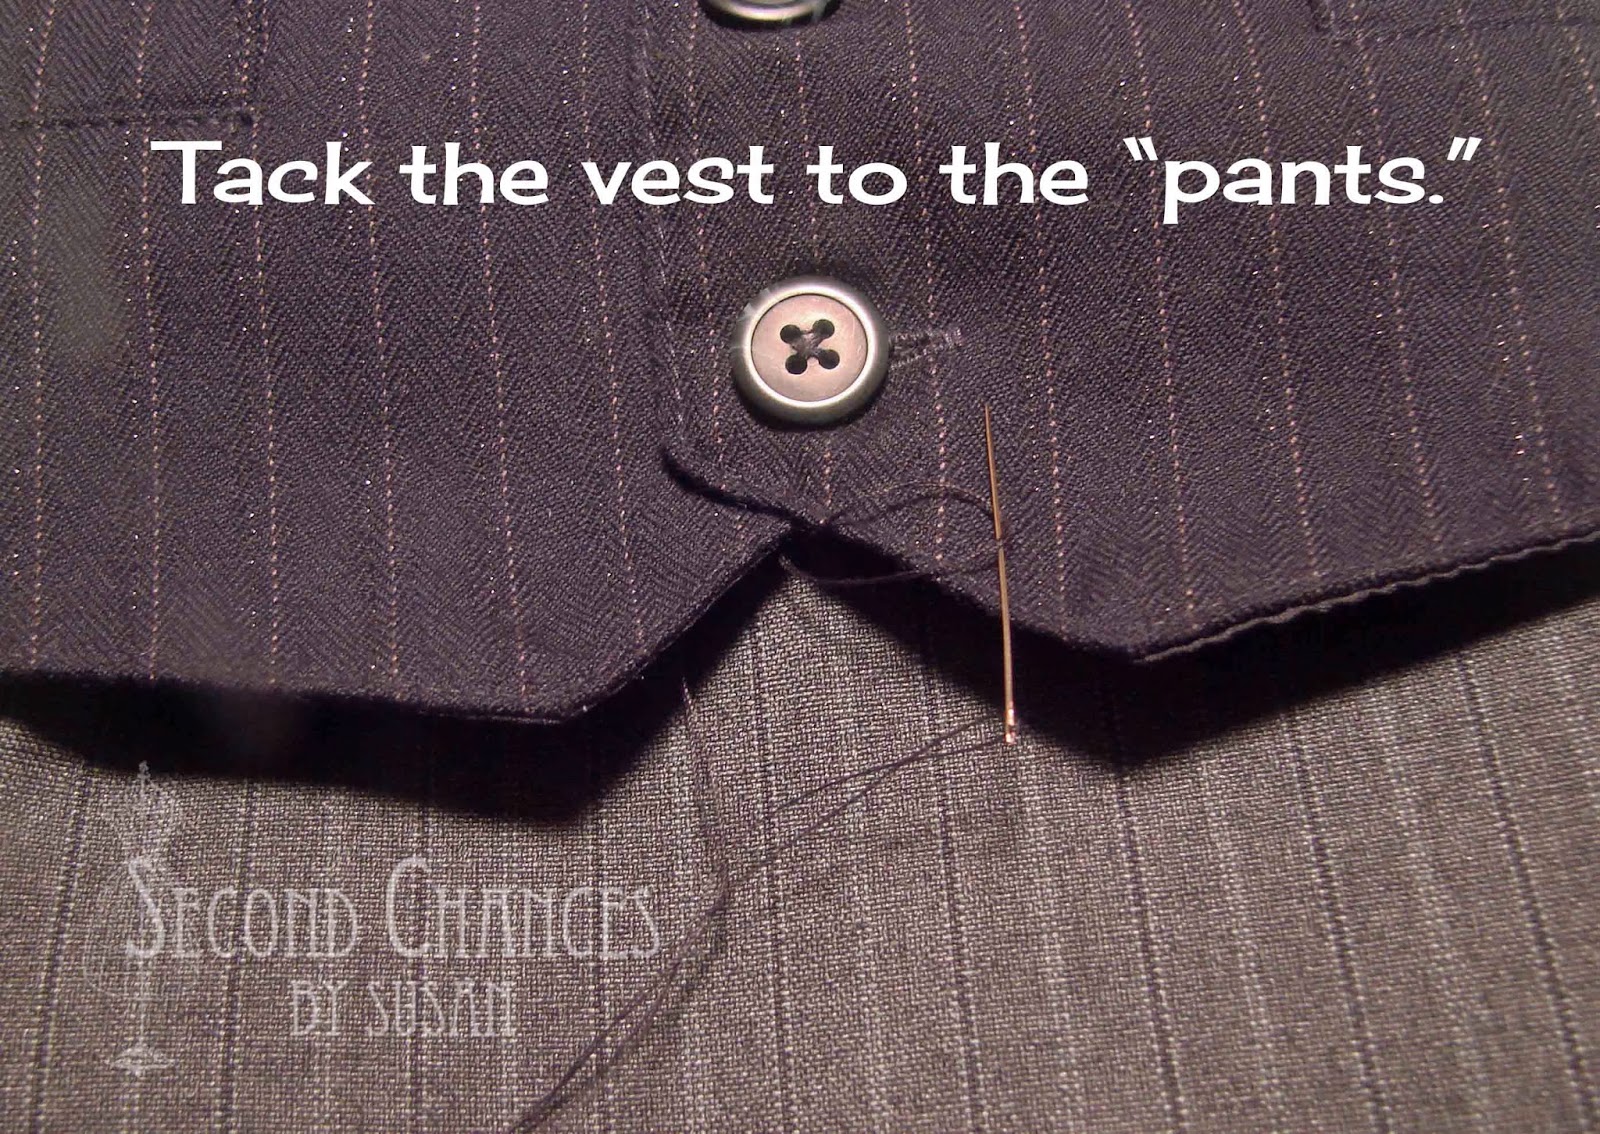
The remaining steps require some hand stitching.


To make the name tag, I searched on the internet for a blank tag. I put it into Photoshop and added my son's name. I printed it on photo paper (or card stock), laminated it, and glued a jewelry pin back to the back side. A peel and stick pin back would work great.

Fill your stocking with all sorts of fun missionary-minded goodies! I included some ties, Uno and Phase 10 (for P-days), a cookbook...101 Things To Do With A Tortilla, and lots of candy!

I like to link to these parties!

That is so adorable! I think I'll make some right now for my future missionaries. Thanks for sharing.
ReplyDeleteThanks for commenting! And, good luck with those future missionaries!
DeleteSuper cute!
ReplyDeleteThanks Heather!
ReplyDeleteI am so happy you linked your missionary stocking up to Tickled Pink Times Two! I am excited to be featuring it Thursday night at Tickled Pink Times Two.
ReplyDeleteHappy New Year!
I just came across this...I am the one who designed the stocking that was sold in Tai Pan in Utah that looks like a suit. I like your vest design! Great idea!
ReplyDelete北京賽車官網,正妹玉蘭花
ReplyDelete同城激情交友真人秀,9聊視頻語音聊天室
免費色聊表演聊天室,性感長腿
293真人秀場,六間房裸聊直播間
日本亂論電影快播,午夜劇場電影網
九聊視頻語音聊天室,綠色成人電影
美美伴遊網約炮,巨乳波霸影院
3D成人片下載,盡情約炮直播間
酷6視頻,性感美女自我安慰視頻
裸聊視頻免費的哪有,2018 約啪軟件