Showing posts with label bench. Show all posts

May 27, 2013

Reclaimed Garden Benches


I've had a couple of garden benches in my backyard for I don't know how many years...and it shows!  They were definitely weathered, which wasn't necessarily a bad thing, but they were getting to be unsafe. 


I could have just replaced them, but where would be the fun in that?  So with some paint, time, and muscle (extra muscle needed from my husband to remove those darn rusted bolts!) this is what I ended up with!


And, if a person wanted to lay back on the bench in the arbor, this would be the view.  I lOVE blue skies!


I just had to throw in these pictures.  This used to be a fountain with a cherub on top and water flowing through it.  Well, that was until the pump died and the cherub was brutally attacked by a flying soccer ball!  So, this year it was recycled into a planter...nothing wrong with extra flowers in the backyard!


 So, here's the step-by-step of how the garden benches were reclaimed.


The Details:

1.  1" x 6" cedar boards were purchased and ripped to size to replace the broken or warped slats.  The original slats were oak, which would have been more expensive to replace.  As it turned out, I replaced every other slat with cedar (basically, all the white slats.)  The bench is still plenty sturdy.

2.  Sand the original and new slats before painting.  The edges of the new slats were routered to match the rounded edges of the original slats.  If you don't have a router, try to round the edges with a sander.

3.  A drill press (with a bit the size of your bolt head) set to stop at about 3/16" allows for countersinking the new bolts.  If you don't have a drill press, wrap some tape around the tip of your drill bit 3/16" up.  Drill until the tape mark hits the surface of your slat.

4.  Use a smaller drill bit (the size of your bolt shaft) through the center.

5.  Prime the slats.

6.  Paint the slats and the wrought iron end pieces.  I happen to love the coverage of this paint, plus the white was also the primer!  BTW, I used Canyon Black, Blossom White, and Eden for my colors.


Reassemble your bench and enjoy!


I like to link to these great parties!


Oct 10, 2011

Autumn Porch

I love the Fall!  Maybe its the illusion that, after a busy summer, life will begin to slow down.  But, who am I kidding?  With all the school events and holidays, it probably speeds up!  But, nonetheless, I love the colors and the crispness in the air.  So, in honor of this beautiful time of year, I decided to decorate the front porch.


If you can believe it, my Dad tried to get rid of this old bench (formally known as his "chainsaw-cutting firewood" bench) until I protested and hauled it home to my house.  I don't know if my husband saw the beauty in it...probably still doesn't, but oh well!


The shutters were on our original house...years and years ago...and I've kept them for use in decorating.  These are actually the back side of them.  I liked the multi-colored "white washed" effect.


The bandana bunting was made by cutting the corners from four different colors of bandanas.  I then pressed the raw edge over about 1/2".  Next, I simply tied them together, alternating the colors.  Raffia was tied in a bow around each knot.  Simple and fun!


The bench is made from two ladder-backed chairs fastened together.  Wood strips were added to form one continuous seat. The cushion is a thrifted pillow sham. 


 The black and cream pillows were made from some thrifted corduroy fabric and buttons.  I was lucky enough to score a whole bolt of fabric for just $5!  The little gold pillow was in my stash.  I just added some raffia and a red button.


This rustic chair sits next to the bench.  It was a freebie.  I like the patina so I haven't painted it.  These pillows were just 50¢ each at a thrift store.  I just added a button and a band of fabric.


An old tea kettle with pansies sits nearby.


I love the old paint on this wheelbarrow!  I picked it up for a few bucks from a garage sale years ago.  It holds a few treasures...


a duck decoy...


an old shovel head...


and, a very rusty metal suitcase!

Happy Fall!!

Featured on:

Sep 21, 2011

Have a seat!

I have always wanted a bench for my bedroom but never found one that I liked, or was the right size. One day I came across a sturdy wooden coffee table at a thrift store.  I think I really splurged and shelled out $15 for it, but I liked the shape and thought it would make a good bench.  The only trouble was that it was  too big for what I needed.  So I set to work cutting it down.  The process wasn't too hard.  A little bit of paint, and a little bit of upholstery and it was just what I wanted...


With pillows, or without...


I spy a lego...or maybe it is a milk dud...no, it's a lego.  Do you see it in the picture above?  I'll give you hint...it's in a place where my bare feet at night will most likely miss it!!


So in case you're wondering how to cut down a coffee table to make a bench, I'll do my best to explain.  First you need a sturdy coffee table that has an apron around the perimeter similar to this...


...and, the apron should be attached with bolts and corner brackets that look something like this...


Once you remove the bolts and brackets, and the screws that hold the top on, it should be in pieces. Some of the pieces may be glued and will need to be tapped lightly with a hammer to get them apart. Run the top through a table saw, cutting to the width you desire.  Cut the same amount off the two apron ends.  You will need to measure in from the newly cut apron edges and cut new grooves for the corner brackets.  Your table saw set at about 1/4" (or less) depth works good.  Now just glue and reassemble all of the pieces.


After painting, distressing, and glazing, it's time for upholstering.  I just placed a foam pad on top, covered it with some batting and fabric, then wrapped it to the underside and stapled it in place.  


So have a seat and relax!

Linking to THESE great parties.

Featured on:
Reduce, Reuse, Upcycle

Jun 22, 2011

I Love the Red, White, and Blue!

I love this time of year!  Summer is officially here...the weather is great...and I can decorate the front porch in red, white, and blue!  There is something about the Fourth of July that brings back so many good memories.  As a young girl, I loved watching the fireworks with my family.  Anything americana makes be yearn for yesteryear when things seemed simpler and more innocent.  So any excuse to bring back good memories and to show some patriotism, I'm game!

I picked up this chair for free a few years ago.  I painted it cream and distressed it.  I made the bench years ago from a couple of headboards.


I found this old metal chair on our property...and love it!  The shutters came from the original house that used to be here before we rebuilt.  I hinged them together years ago to create a folding screen.  The old flag was purchased from a thrift store.  Buntings are all over the web these days.  I love them, but wanted to do something a little different.  I tore 3/4" strips of cotton fabric and tied them onto some cotton cording.  Then I gathered the red, white, and blue strips at the bottom and tied them with another strip of white fabric to form each triangular "flag."


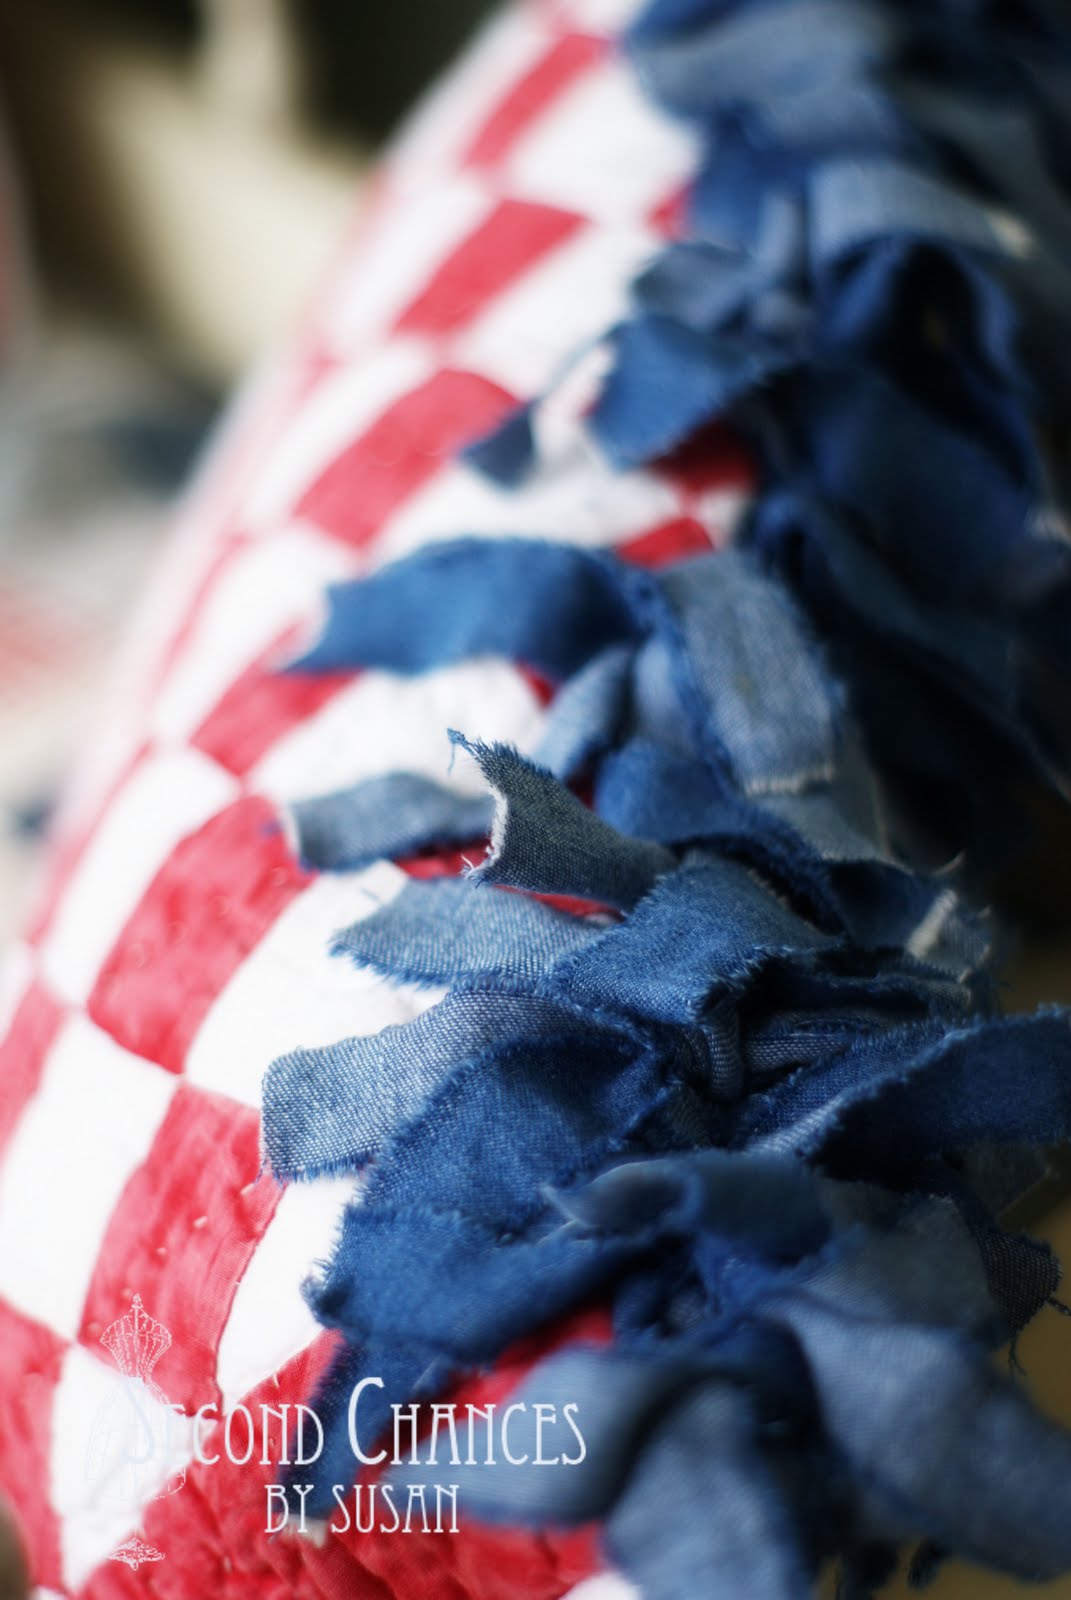
I found a quilted pillow sham the other day at a thrift store.  I loved the design and the "weathered" look of the fabric.  I brought it home,  cut it in half, and serged the raw edges.  Then I tore 1" x 10" strips of denim from an old shirt.  I folded the strips in half to find the middle, then I stitched the middle of each strip to the top edge of the sham.  This gave me strips that are now 5" long.  I did this to both sides.  I ended up with 30 full strips sewn to each side (or, 60 5" strips on each side.)  So, when I tied them together, I was using two strips from each side tied together in one knot (30 knots total on each pillow.)  Of course, I inserted my pillow form before I tied them! :o)


I made chair cushions from a couple of striped pillow cases.  The top button detail allows me to remove the coverings for washing.  Remember, if you do this detail, you need to make buttonholes in both layers of the pillow case!  If you put the layers together and make your buttonholes...oops, you won't be able to get into it!


Some sweet people I know gave me this drop leaf table a few years back.  I immediately painted it red.  I think every porch needs a red table.  It is so versatile with decorating...Christmas...Valentine's Day...Independence Day...you name it!  The tablecloth is an old flag with borders of patriotic fabric.  And, I love the basket of strawberries...YUM!


Have a happy Fourth of July!
God bless America!

Linking to THESE great parties!

And...


And also the Red, White, and Blue Challenge at....

Visit thecsiproject.com

Featured on...


36th Avenue  Visit thecsiproject.com   Boogieboard Cottage