Showing posts with label vinyl. Show all posts

Aug 23, 2014

My Sewing Studio: The Aqua Hutch


Of all the projects in my sewing studio, this one has to be my favorite!  I was searching for something that could do double duty....storage and table space.  I came across this two-piece gem at a used furniture store for....drum roll please....only $15!!  They weren't actually connected, and at first, I didn't even know if they were a matching set.  The owner of the store had accidentally dropped the upper section while moving it one day and had tweaked the hinges.  When I found it, the door on one side wouldn't close properly.  But, for $15, I was more than ready to tackle the project of fixing the hinges.  The funny thing is, though, that I didn't have to do anything at all.  Just putting them on their backs and driving them home in my van did the trick.  When I unloaded the two pieces, everything worked perfectly.  Woohoo!!


I had plans for the lower half becoming a roll-out work table, so I knew the upper part wasn't going to be able to sit on top of it any longer.  So, I gave the sides a decorative cut and fastened the upper piece to the wall.  The original plan was to add a couple of dowels across the lower area to accommodate spools of ribbon, but I decided to scratch that idea for a less cluttered look.


My husband and son helped me attach it to the wall by screwing it to the studs.


I then turned my attention to the base.  I purchased a sheet of 3/4" MDF and cut a new "drop-leaf" table top.  I also cut a couple of legs from the MDF and attached them to the underside of the table with hinges.  When the extended table is not in use, they fold up neatly for storage.


I purchased a long piano hinge and fastened it underneath so that my table could drop down when not in use.  I also added some heavy-duty casters to the base cabinet so that my work table can move around easily.


Once I had it the way I wanted it, I painted the exterior cream, and the interior, along with the table top, aqua.  I also added some gold details to tie in the existing gold trim on the glass doors.  The hardware was sprayed with oil-rubbed bronze spray paint.


I covered three of the screws that attached the upper piece to the wall with some vintage buttons.  (The upper screws are inside the cabinet and not visible.)


I found some baskets on clearance at JoAnn's that fit perfectly with my color scheme.  The cupboards below are perfect for storing larger pieces of fabric.


The glass cupboard above showoff fat quarters and other smaller pieces of fabric.   
I also had a friend cut me out a well-loved quote from vinyl to add to the piece.  A small tabletop ironing board was covered with the same material as the office chair.


The top of the cabinet was the perfect place to showcase the Singer Featherweight sewing machine I learned to sew on as a child, along with a few other vintage accessories!


When the table is extended, it makes a great workspace for cutting out and creating projects!


The total cost for this double duty storage and workspace is:

Used hutch.....$15.00
Paint.....already on hand
Half sheet of MDF.....$16.00
Piano hinge.....$10.00
Casters.....$12.00
Baskets.....$12.00
Vinyl lettering.....$12.00
Leg hinges.....already on hand

Total Cost....$77.00

I like to link to these great parties!

Featured on:


Aug 9, 2014

Girls Camp Crafts 2014

Summer is a busy time for most people, and I'm lucky to have a portion of my summer spent at Girl's Camp.  And, I'm even more lucky to spend my time at camp doing crafts!  How great is that to do crafts in the beautiful outdoors amongst beautiful young women?!  So here's the run down of what we did this year.

Magnetic Bulletin Boards

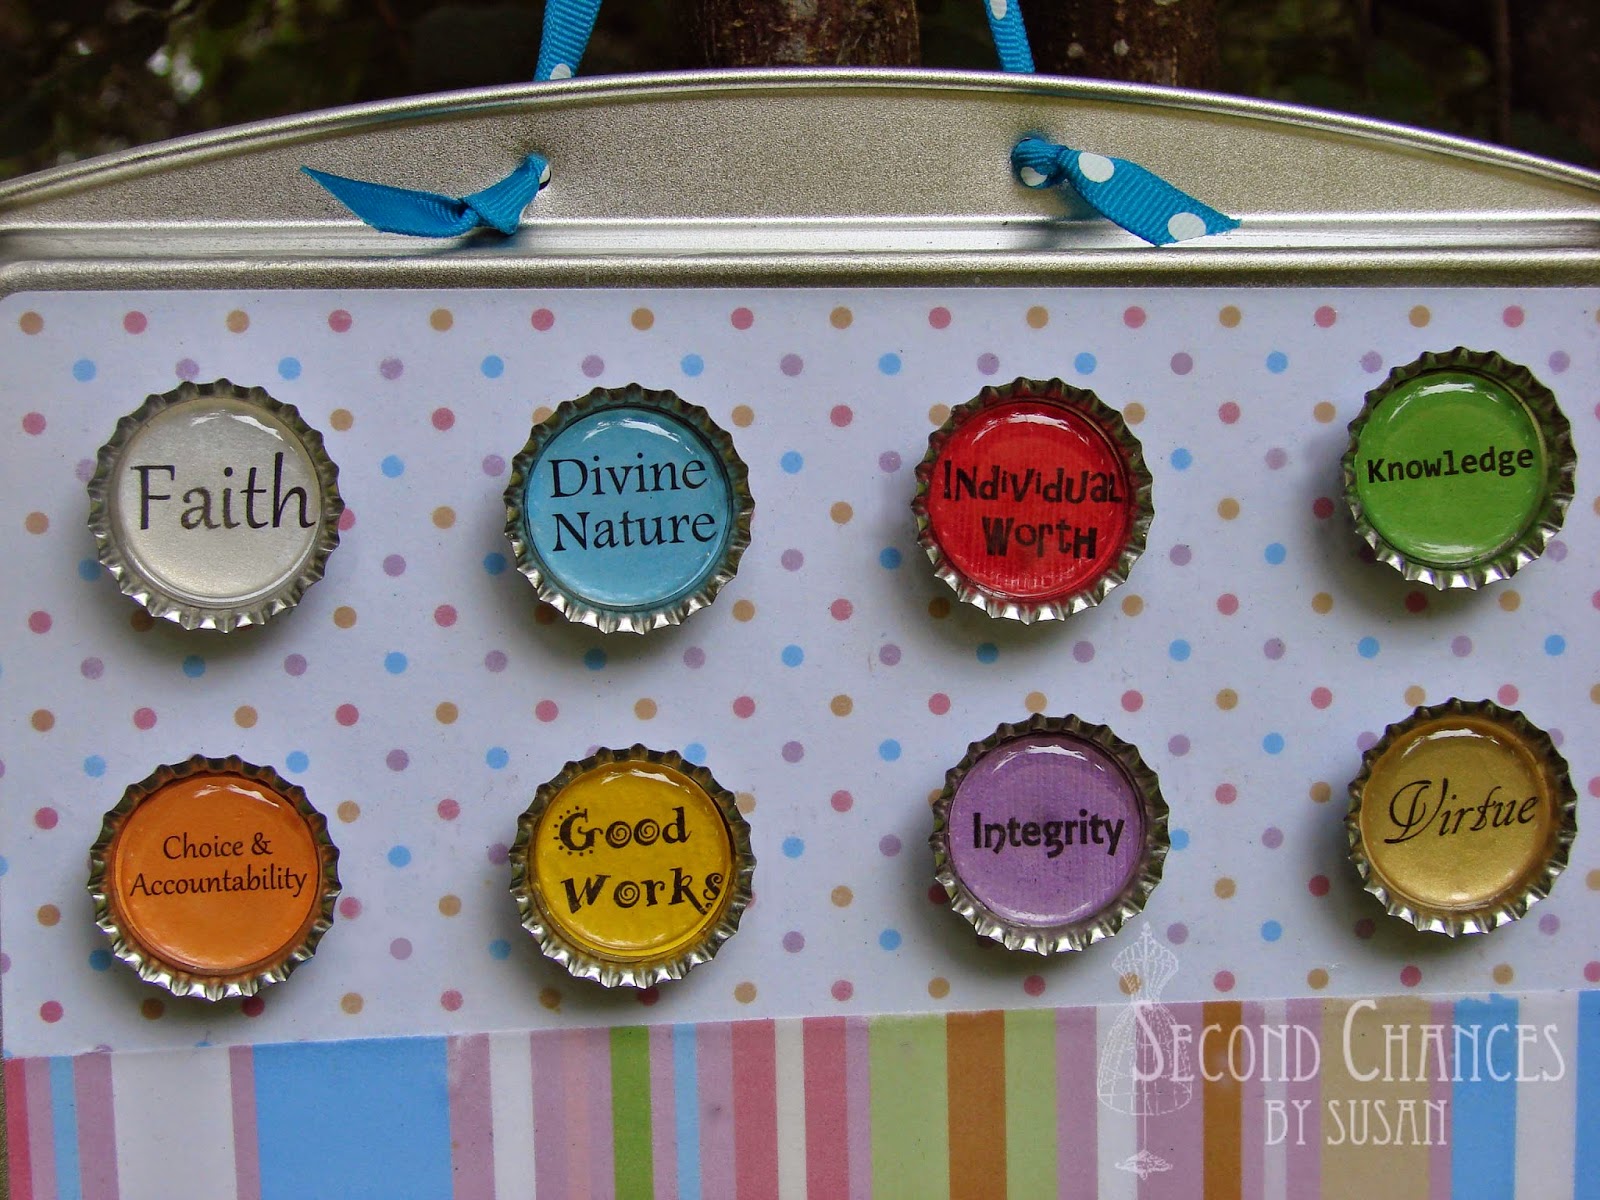
The first day we made these cute magnet boards.  We started with a 9x13 cookie sheet purchased from the dollar store and/or WalMart.  We cut our paper to size and adhered it to the back of the cookie sheet using mod podge.


While we waited for the mod podge to dry, we made these cute magnets.  We had already printed the words onto colored paper and a 1" punch was used to cut them out.  The girls glued the circles to the inside of the bottle caps, then once dry, covered the circle with the epoxy sticker.  Magnets were glued to the back using E-6000 glue.


Once the mod podge was completely dry (using a hair dryer, or letting it sit overnight) the vinyl lettering was added.  The last step was to drill two holes and add the ribbon hanger.  One tip:  The holes are actually easier to drill before they start the project, and a small file is necessary to remove any metal burrs that are left as a result of drilling.  


Follow the links below to see where we bought the supplies:

or, you might like these magnets better
as they are smaller and have a lower profile.

Temple Pendants

Day two had us doing these super easy necklaces.  The original idea can be found on SugarDoodle, along with the information of where to purchase the supplies, and also a file for the images used in the necklaces.  Follow the directions they suggest and give them plenty of time to dry.  We let ours sit overnight.


These images were cut with a 1" punch just like the magnets.  These, however, were covered with a glued on glass bubble, as opposed to an epoxy sticker.  Please note, I was unable to photograph these without getting reflective glare on the glass, so please excuse what looks like strange white patches on the photos...they are only an illusion!


The necklaces were super easy and took all but about 5 minutes to complete.  Our girls have several activities available for them during their free time, crafts being just one of them.  So, this project allowed them to experience some of the other fun things at camp.


Design Your Own Pillowcases

Our last project was basically a free project...nice on the budget!  I had done this activity before with a smaller group of young women.  You can view the original post here.  The pillowcases were donated from a hotel chain.  Before camp, we cut off a portion of the pillowcases and then added back a band of bright fabric.  All of our fabric was donated so these cute pillowcases didn't cost a thing!


The only thing purchased for this project was a few boxes of crayons.  Add to the fact that crayons are super cheap this time of year and this project cost us just a couple of dollars!


All the girls needed to do was decorate their pillowcase however they wanted to.  Once complete, we used an iron to heat set the design.  The girls who have done this project before say the pillowcases wash up just fine.


And that's it!  Another successful year at Girl's Camp....looking forward to the next!

I like to link to these great parties!


Aug 8, 2011

Girl's Camp Crafts

I just returned from Girl's Camp where I had the privilege of helping with crafts.  I have been to camp for 17 years now as a leader, but this is my first time working with the crafts.  Thanks to all the wonderful ideas on the internet, we were able to do some awesome crafts with the girls!  So here goes...

First up were these wooden plaques with vinyl lettering.  My friend over at Vinyl Craft Lettering provided us with two different fonts and colors.  I cut the boards 31/4" x 18" from MDF, then routered the edges and drilled the holes.  The girls painted them with their choice of color—some even doing multi colors, splatters, flowers, borders, etc. They then applied the vinyl lettering and added the wire hanger.  Just make sure the paint is good and dry before applying the vinyl.  Simple and successful!


We also made no-sew braided headbands that day.  I found this great tutorial over at sugarbeecrafts.com....GENIUS!  The girls LOVED this craft.  They made them with flowers and without.  In fact, they continued making these throughout the week!


On day two, we made duct tape purses.  Anything with duct tape is always a big hit!  In fact, the adults wanted to make them, so we did a late night crafting session—which was great in helping us work out the bugs before teaching them to the girls!  I found this great tutorial at allthingsthrifty.com.  I loved the use of fabric for the interior (it was cute and cut down on the amount of duct tape used.)  We started with a piece of fabric that measured 9" x 18".  The boxed corners at the bottom really gave them shape!  Our budget didn't allow for cording and grommets for the handles, so we used fabric and duct tape.  All we did was lay a 14" strip of duct tape sticky side up, and then placed about a 1" strip of fabric down the center (usually the same fabric as the interior.)  Then the duct tape was folded about 1/4" over the edges of the fabric.  We made two of these for the handles.  Here are the creative purses that some of our leaders crafted.  They are a perfect size for lunches, scriptures, or water bottles and necessities! 

UPDATE 4/28/2013:  If you would like to view a step-by-step tutorial of a simple, fabric-lined duct tape purse, visit my youtube channel.  Become a subscriber so you can be informed when I add new videos!  Here's the link:


On the third day, we made notepads from cereal boxes.  I found the idea at infarrantlycreative.net.  I didn't get a picture of the ones we made, but this was the idea...


We also made emergency purse kits from Altoid tins.  This was a project I posted earlier on my blog.  These really come in handy.  One of the girls that had made one originally with me says that she uses it ALL the time!

UPDATE:
If you would like to view a video tutorial on how to make these little kits covered with duct tape instead of paper and mod podge (much easier), visit my youtube channel and take a gander.  Here's the link:


http://youtu.be/TGh-zbTOosk

Become a subscriber so you don't miss out on any future videos!


All in all, I'd say that craft time was pretty successful this year.  Now we have a whole year to scour the blogs and find cute things for next year!


Lisa and myself, a.k.a "Crafty Ladies!"

May 5, 2011

Girl, Put Your Records On...LITERALLY!

Fireflies and Jellybeans is hosting an Iron Crafter Challenge this week.  The secret ingredient to use is anything vinyl.  I liked the idea of using old records.  My first thought was to melt and reshape them, but that thought soon left.  The next thought was to make a purse out of them.  But, that thought left my mind also.  Come to think of it, a lot of thoughts leave my mind....but that's a different story!  Anyway, the thought that actually stuck was to make a funky belt to wear.  So, this is my entry...I used old 45's, vinyl fabric, and silver brads.  It took a bit of figuring, okay, maybe a lot of figuring, but I'm happy with the way it turned out.    I hope you enjoy it.


To see a tutorial on how it was made, click here.