I've just returned from another year of Girl's Camp where my friend, Lisa, and I are the "Crafty Ladies." It can be a lot of work, but also a lot of fun. Here's a run down of what we did.
The "Super Strap" Water Bottle Strap
This year the adult leaders wanted to encourage the girls to carry around their water bottles, especially on the hikes. We thought a good craft would be a water bottle strap. I searched around the internet for ideas, then came up with something that would fit our needs at camp. The main criteria for this craft was simplicity and no sewing! My son, the night before leaving for a two-year church mission, recorded a song for me to use as an infomercial for the "Super Strap." He wrote the music, played the instruments, and recorded the vocals. I wrote the words and added the pictures. As a side note, I'm going to miss his musical creativity over the next couple of years!
The straps were easy to make. We cut strips of single knit fabric, 1" wide by the width of the fabric. (Approximately 54-60" wide.)
To make the strap, layer three strips on top of each other and thread the first 6", or so, through a round rubber gasket. Note: I searched around and found a gasket that fit over the cap of the water bottle that was provided for the girls. When finding a size that will fit, take into consideration that the fabric will loop over two sides of the gasket, thus making the opening a bit smaller. But, also consider that the gaskets stretch a little. Our gaskets were rounded so they kind of "rolled" over the cap when putting them on.

Once the fabric strips are threaded through the gasket, fold the strips back on themselves and begin to braid your strap, encasing the ends of the strips as you braid. To make the braiding easier, we had a 2x4 clamped to the table with binder clips screwed in place. The girls were able to clamp their gasket in place, making it easier to braid. Continue braiding until you get about 6" away from the end. If your strips aren't the same length, trim them to match each other.
Thread the unbraided final 6" through the gasket again (only on the other side of the gasket) and fold the strips back onto themselves. Using a safety pin, pin the end of each strip, one at a time, and weave the end back through the braid. Note: It helps if the strap is not braided super tightly!
If desired, you can use a dab of hot glue to tuck and secure the ends in place. Depending on the stretchiness of your fabric, these can sling over the shoulder, across the body, and still hang a bit too low. If that's the case, just tie a knot at the shoulder and bring the water bottle up to the desired length. Obviously, the water bottle will hang lower when its full of water as opposed to when its empty!
Those individuals that do a lot of hiking will probably want a more sturdy way of carrying their water, but as for a girl's camp craft, this was inexpensive, useful, and the girls had fun making them!
This idea was not original. We followed the tutorial found on the website,
Brave Girls Club, for their dream boards. We chose to call them "Reflection Boards" as we were always trying to reinforce that the girls see their true nature and inner beauty. It was a fun activity, needed little instruction (woohoo!) and allowed the girls' individuality to really shine! We ordered 9 x 12 canvas panels through
Wholesale Arts and Frames for the base. They were cheaper than stretched canvas frames. Prior to camp, we asked for donations of unwanted scrapbook paper and embellishments from church members. We were flooded with generous donations! The girls had many cute things to choose from. One 16 oz. bottle of Mod Podge was probably all we used for about 30 boards.
The girls needed to learn knots for certification, and this project reinforced their knowledge of the good ol' square knot! We followed this great
tutorial on the website, Smitten By A Knot. We precut the cording and had packaged them in snack baggies. The girls were able to choose their own beads. I demonstrated the tying process by using a rope attached to a piece of foam core so they could see an oversized version of the process. We used the same 2x4's with binder clips as we did with the super straps to secure our cording—along with a small piece of cardboard to pin into. One trick we learned to make things easier was to tape the ends of the filler cords to the table, thus keeping them tight and free from tangles during the knotting process. Just un-tape the filler cord when adding a bead, then re-tape in place. This project required more instruction than our other projects until the girls got the hang of it.
"Tie Dye" T-Shirts using Sharpie Markers
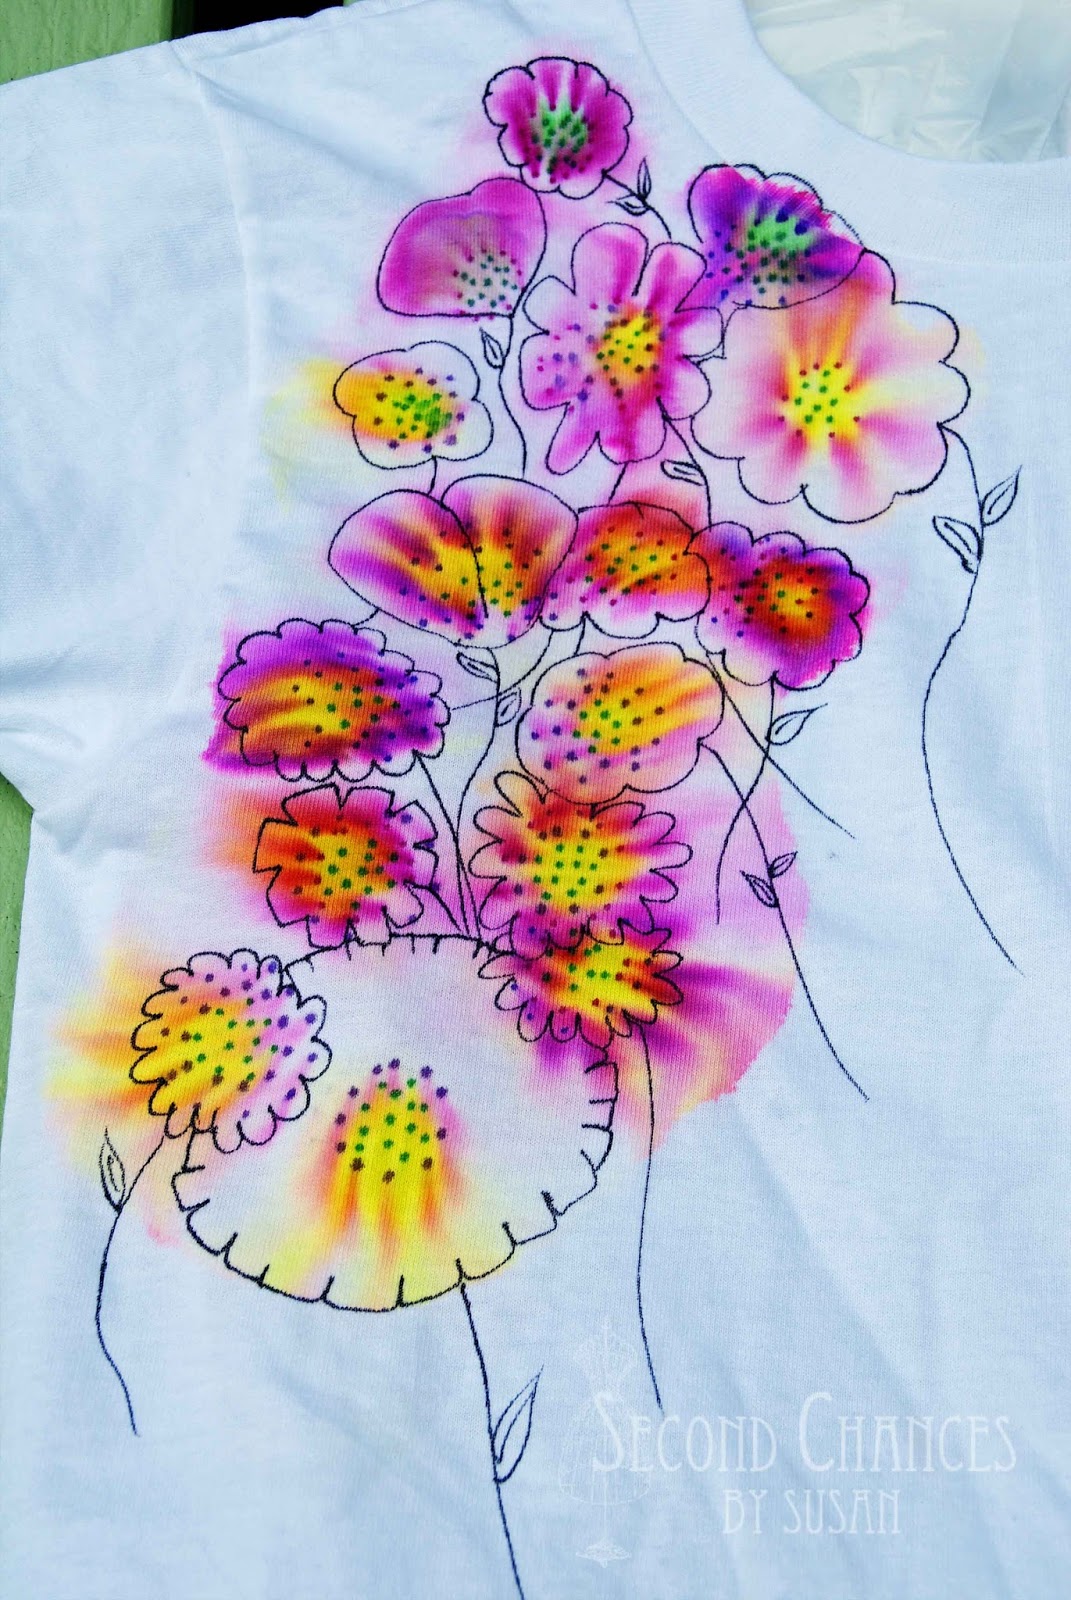
This was a fun, and very easy project. You can find a few different ways to do this project. We just had the girls place an eight gallon plastic bag in between the layers of their 100% cotton shirts. They drew designs onto their t-shirts with sharpie markers, then dripped rubbing alcohol on the designs and watched the ink spread out. I got the droppers from a pharmacy, and the best buy on markers was at Costco. As for the rubbing alcohol, we used 70% solution.
It was fun seeing the different designs. Some made circles of dots,
some drew "starbursts" (or asterisks),
some wrote words,
some placed their design tightly together,
and some added detail, when dry, by using an ultra fine sharpie.
We did notice that the ink spread out better on the 100% cotton t-shirts, as opposed to a blended t-shirts. Also, some colors spread better than others so you might have some scraps for the girls to experiment with. Heat set the t-shirts with a hot iron or dryer before wearing and washing.
It was another fun and successful year of crafts!